Guardians
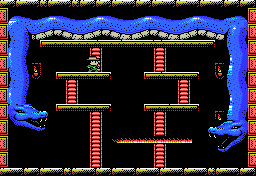
AmphisbaenaGuidance Gate E-5Shoot projectiles into a mouth while it's open, for example while it breathes fire. About 20–30 Shuriken.
Revealing the Ankh
1. At B-3, push the block onto the grey zone to raise a pedestal. A Weight on it makes a pedestal appear in D-3.2. Put a Weight on the new pedestal in D-3 and the Ankh appears in E-5.
Attacks
- Both heads take it in turns to breath fire, in straight lines, that go across most of the room.
Weak points
- Both of the heads.
Strategies
- Stand close to either head and fire Shurikens rapidly, keep doing this and he will die, you do not need to worry about dodging, he will die before you do.
- Stand on the platform furthest away from the head that is level with you and fire Shurikens and when the fire reaches you head down the ladder to avoid being hit.
Notes from the La-Mulana Wiki.
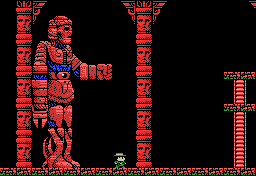
SakitMausoleum of the Giants C-5How to fight it: the weak point seems to be behind the face. The mask just clangs, so use the Whip or another close-range weapon rather than projectiles.About 25 Whip hits. You can climb the arm when it stretches out. It might be worth trying to stand on its head with the Feather and use Spears.
Revealing the Ankh
1. Set E-6 to all suns. A pedestal appears on the chest of the statue in H-4; put a Weight on it.2. Set E-6 to all moons (from the starting state, hit the left one five times) and the Ankh appears in C-5.
Attacks
- Sakit fires bullets, at the player, from his claw hand.
- Sakit launches his hand at the ground causing rocks to fall from the sky, if hit by the fist it does a lot of damage. You can run up the chain of the arm and attack his face.
- When Sakit walks rocks fall from the roof, they split into smaller rocks after their first impact with the ground.
Weak points
- Sakit's face is his weak-point, it can only be damaged by primary weapons.
Strategies
- Stand on the lower-platform when Sakit walks so that you don't get hit by the falling rocks. When he starts to fire bullets from his hand go up to the top-platform and jump just after he fires each shot, repeat this until he fires his fist. When he fires his fist run up the arm, you can now attack his face. Jump and use the Knife you can get three hits on per jump, one going up, two on the way down. You can get two jumps in before he pulls his arm back, when you see his hand un-grip the floor jump from the arm back to the ladder, repeat the process until dead.
Notes from the La-Mulana Wiki.
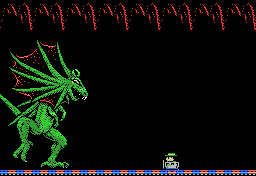
EllmacTemple of the Sun D-6How to fight it: the mouth seems to be the weak point. About 30 Shuriken. Above all, dodge.
Revealing the Ankh
Defeat the blue bird (Bennu) in D-6 and the Ankh appears.
Revealing the Ankh
- Once the cart has arrived in D-6, kill the lone Bennu.
Attacks
- Ellmac opens his mouth and fires three fireballs in your direction. The fireballs go rushing to the left once they hit the track. After he takes enough damage, he will fire four fireballs. This attack is his only vulnerable phase.
- Ellmac backs off the left side of the screen. His head appears level with the track and he roars, causing debris to fall from the ceiling.
- Ellmac charges if you get to close to him.
Weak Point
- Face (only when mouth is open)
Strategies
- Stand below the head and double-jump when he opens his mouth and attack, or use Flares.
- Dodge his fireballs and when you reach the height of his head fire Shurikens. Shurikens are pretty much the only viable weapon for killing him, so it's a good idea to bring at least 60.
- Don't worry about falling off the minecart, you can't. He is invincible when his mouth is closed and when he is doing his rock slide attack. Shuriken are pretty much the only viable weapon for killing him, so it's a good idea to bring at least 60.
After Winning
- After defeating Ellmac, you emerge in E-6. Read the tablet in the room to open a chest containing the Bronze Mirror.
Notes from the La-Mulana Wiki.
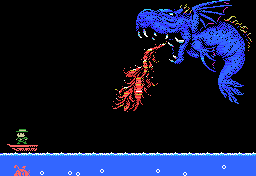
BahamutSpring of the Sky C-2How to fight it: the mouth seems to be the weak point. Time your jumps to the waves and attack.
Revealing the Ankh
Open the floodgate and a pedestal appears in C-9. A Weight on it makes the Ankh appear in C-2.
Attacks
- Bahamut leaps out of the water, causing a wave to knock you into the air, he then jumps into you.
- He can also jump out the water and shoot a fire beam, from his mouth, he then lands back in the water causing a wave.
- He will occasionaly stick his head out of the water and fire lots of shots into the air, raining down on the player.
Weak points
- Head.
Strategies
- When he jumps out of the water, jump up and fire Shurikens at him, or use flares and when he does the third attack listed above get close up and fire Shurikens.
Notes from the La-Mulana Wiki.
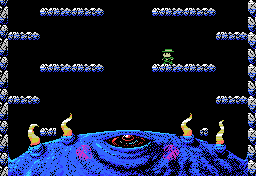
ViyInferno Cavern D-6How to fight it: attack the tentacles first, then use Spears when the eye opens.
Revealing the Ankh
Come into D-5 through the gate from Tower of Ruin D-6 and a pedestal appears in D-4. A Weight on it makes the Ankh appear in D-6.
Attacks
- Viy's eyelashes fire small projectiles at the player.
- If you stand on Viy you will be knocked high into the air, dealing a large amount of damage.
- Two demons will lift Viy's eyelid and he will fire a large lazer straight-up, this will destroy anything that enters, including Sub-Weapons.
- Two demons will lift Viy's eyelid and he will shoot his eye upwards and fire lots of bullets randomly into the air, these will rain down on to the player.
Weak points
- The eyelashes, these do not damage the boss but only stop the eyelashes from shooting projectiles for a brief period of time.
- The eye, but only when open.
Strategies
- Stand on the high up platforms and use Spears to stop the eyelashes. When Viy opens his eye fire Throwing Knifes down at him. If he does the third attack listed above then use Shurikens. Repeat this until he dies. This is known to be the most effective, and safest, way of killing Viy.
Notes from the La-Mulana Wiki.
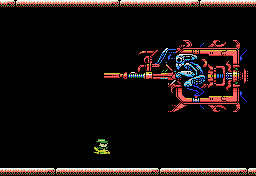
PalenqueChamber of Extinction I-3
Revealing the Ankh
1. Warp into G-2 from Chamber of Birth G-3 and weight the pedestal. A Plane Model mural appears in B-2.2. Touch the Plane Model mural while holding the Pochette Key and a pedestal appears. A Weight on it makes the Ankh appear in I-3.
Revealing the Ankh
- Place a weight on the pedestal at G-2 to cause murals to appear at B-2 and I-3. This pedestal can only be accessed via a teleport from the Chamber of Birth.
- Defeat the Big Man in the Chamber of Birth to obtain the Pochette Key and scan the mural at B-2 to cause a pedestal to appear. Place a weight on the pedestal to activate the Ankh at I-3.
Notes from the La-Mulana Wiki.
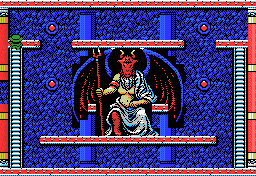
BaphometTwin Labyrinths D-3How to fight it: no notes yet.
Revealing the Ankh
Stand still in G-3 for a while and the Ankh appears in D-3.
Revealing the Ankh
- Defeat the sub-bosses Peryton and Zu to access the boss room D-3 and the hall of meditation G-3. Meditate by standing in the center of G3 for several seconds to cause the Ankh to appear at D-3.
Notes from the La-Mulana Wiki.
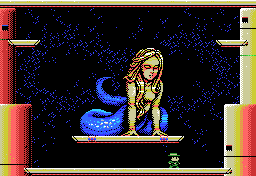
Revealing the Ankh
- The Ankh appears at D-3 when all eleven Dimensional Corridor sub-bosses are defeated.
Notes from the La-Mulana Wiki.
MotherTrue Shrine of the Mother C-3
Awakening her
Put a Weight on the B-2 pedestal and open the four seals at C-3. Break the Ankh with the Keyblade.
Awakening the Mother
- All eight Guardians must be defeated to activate the True Shrine of the Mother. To initiate the fight:
- A weight must be placed on the dais at (B-2).
- All four Key Seals must be used here.
- The Mantras must be found and recited in order to reveal the Ankh.
- Mother's Ankh must then be struck with the Keyblade to activate her first form.
- To awaken her (to reach her true forms), two requirements must be met:
- All Grail Tablets must be read to power the Holy Grail (which can be observed if the Holy Grail is golden after doing so). (Note that the tablet from the original Shrine of the Mother is not required.)
- The yellow Medicine of the Mind must be in the Vessel.
- If you accidentally got the wrong medicine color, return to Fobos in the Dimension Corridor to reset the puzzle and get the correct medicine.
- If you don't have the yellow medicine and the powered Holy Grail, Lemeza will be sucked into the mouth of the statue and spat out back to the entrance of the ruins upon beating Mother's first form.
Fighting the Mother
- Location: True Shrine of the Mother (C-3)
- Music: Last Battle? and Good Night Mom
- Each of the Mother's forms are weak to one specific weapon.
First Form
- A large stone face appears between the twin pillars of the room.
- The face shoots out red spheres from its mouth that bounce across the walls several times before flying out of the room for good. Use the Keyblade to strike at the statue's face. Try not to get hit; although one hit seems negligible, you will need all the HP you can get for the remaining forms.
- Once defeated, the face cracks, and you will automatically pour the yellow Medicine of the Mind and golden Holy Grail on her face, revealing her true form. Again, if you are sucked out of the room instead, you're missing one or both of these specific items!
Second Form
- The Mother takes the form of a white human silhouette, and flies above the ground, moving back and forth. In this form you must deflect her projectiles in a game of tennis. Any weapon will do, but the katana works the best.
Third Form
- The Mother takes a form resembling a ghoulish version of the Virgin Mary. In her arms is a skeleton in swaddling clothes.
- She will shed bloody tears, which turn into waves of fire that travel in both directions when they hit they ground.
- She will rain crucifixes from the top of the screen to center where Lemeza is standing. She doesn't adjust her initial aim.
- This form must be fought using the axe.
Fourth Form
- The room floods with water as the Mother manifests as two enormous eyes. She doesn't attack in this form, but that doesn't stop the fish and jellyfish from causing collision damage.
- To defeat this form you must recall what was said on the tablets:
- "The left eye sees Kindness."
- "The right eye sees Charity."
- "Charity, Kindness, Charity, Charity, Kindness, Charity, Kindness, Kindness, the endless sound of the waves."
- Use the Katana to strike the eyes in this pattern: RLRRLRLL
Fifth Form
- Mother once again takes the form of a human silhouette, only smaller. Contact with her body does damage. This form is weak only to the Whip.
- As the fight goes on, the wedges of the other eight Guardians will appear on both sides of the screen. At the same time, a fetus will appear in the background representing the 9th Children that will replace humanity. After the final hit is struck, the Mother will collapse to the floor reaching out to the fetus
Notes from the La-Mulana Wiki.
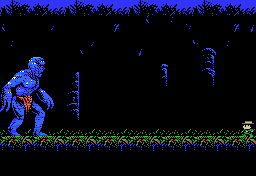
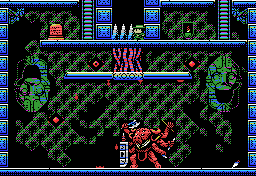
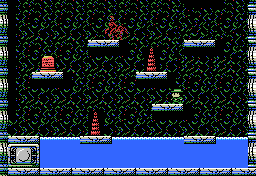
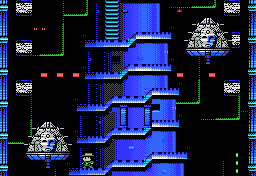
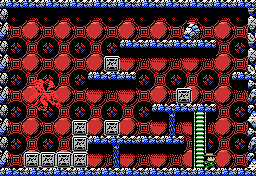
Tower of Ruin
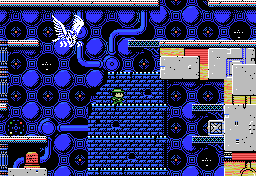
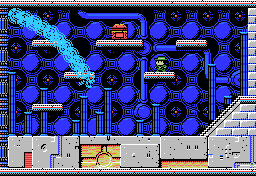
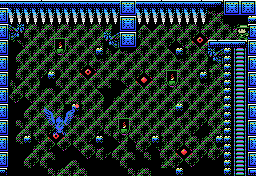
- Thunderbird
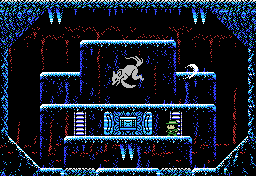
- Nu Wa
- Attack the base first. Once it breaks off, attack around the second joint.
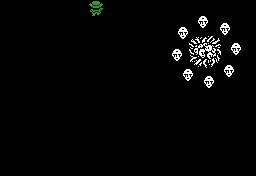
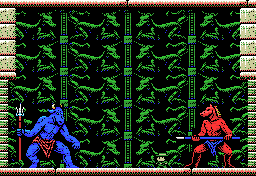
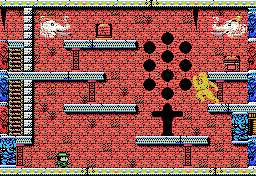
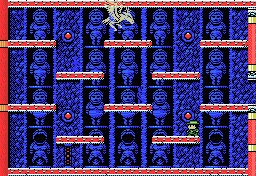
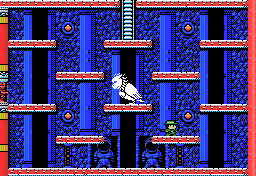
Endless Corridor
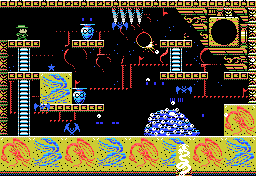
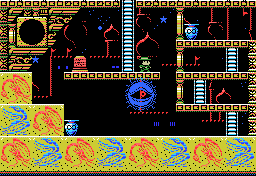
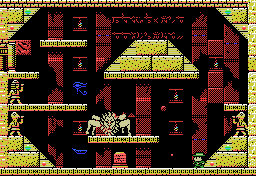
- B-5: Tai Sui
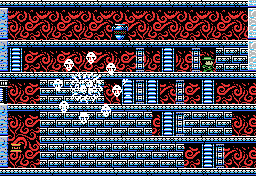
- C-5: Backbeard. You can only damage it after defeating Tai Sui. Attack the eyeball.